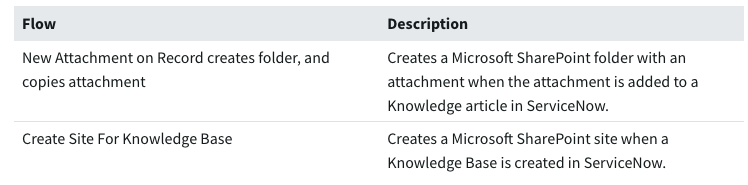
Spoke Provide us OOB Flow , Subflow and Action that can use ready to go:
Pre-Install Flow:
Pre-Install Subflow:

Pre-Install Action:
Their many actions available, please visit https://docs.servicenow.com/bundle/quebec-servicenow-platform/page/administer/integrationhub-store-spokes/concept/sharepoint-online-spoke.html
Configuration Steps:
- Configure Microsoft SharePoint application (Sharepoint Side)
- In the Azure AD portal, navigate to App Registrations.
- Click New registration.
- On the form, fill these values.
- Name – Name to identify the application.
- Supported account types – Permission that specifies who can use this application.
- Redirect URI – ServiceNow instance URL in this format: https://<Instance-Name>.service-now.com/oauth_redirect.do.
- Click Register.
- Under API Permissions, add the Microsoft Graph permission:
- Click Add a permission.
- Select Microsoft Graph.
- Select Delegated Permissions.
- From the Sites list, select Sites.ReadWrite.All permission.
- From the User list, select User.Read permission.
- Click Add permissions.
- Under API Permissions, add the SharePoint permission:
- Click Add a permission.
- Select SharePoint.
- Select Application Permissions.
- From the Sites list, select the Sites.FullControl.All permission.
- Click Add permissions.
- Create aliases for multiple tenants
- Navigate to Connections & Credentials > Connection & Credential Aliases.
- Click New.A blank Connection & Credential Alias record opens
- On the Connection & Credential Aliases form, fill the following values.Connection & Credential Aliases form fields
- Name – Name to identify the record.
- Type – Connection and Credential
- Connection type – HTTP
- Click Submit.
- Define Microsoft SharePoint tenants
- Navigate to Microsoft Sharepoint Online > Tenants.
- Click New.
- Complete the form.
- Name – Enter a name for the tenant.
- Alias – Select a connection and credential alias. If configuring the integration for a single tenant, select the MicrosoftSharepointOnline alias. If configuring the integration for multiple tenants, select the desired alias.
- Sharepoint Root URL – Enter the root SharePoint URL without the https:// prefix.For example, <SiteName>.sharepoint.com
- Tenant Id – Enter the Tenant ID. This is the Directory ID for the Azure AD Directory that is supporting the Microsoft SharePoint tenant you want to connect to. See Configure Microsoft SharePoint application.
- Resource Id – Auto-populated with 00000003-0000-0ff1-ce00-000000000000.
- Click Submit.
- sadf